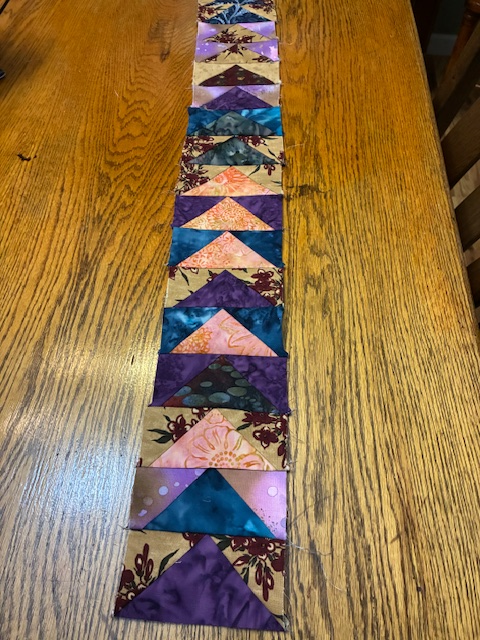
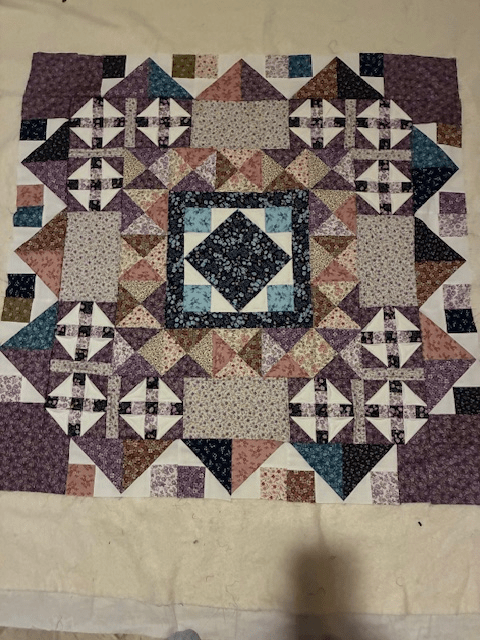
The SAHRR 2026 is almost up to date. It takes a little longer to do each row as I’m quilting each row as I make it.
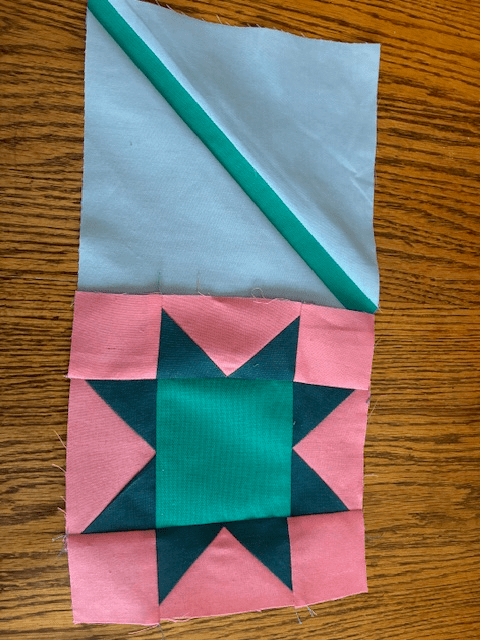
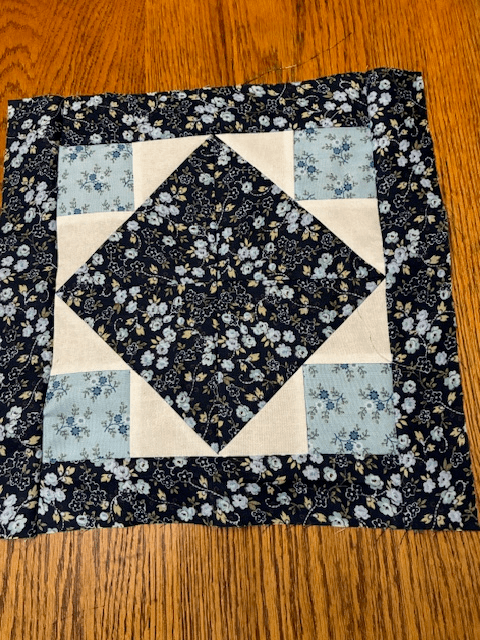
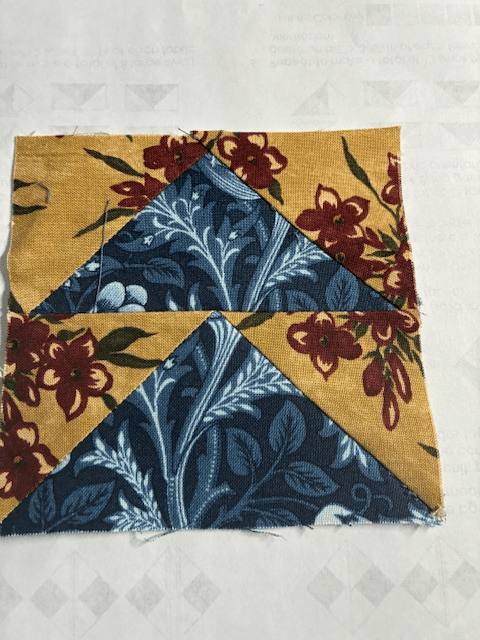
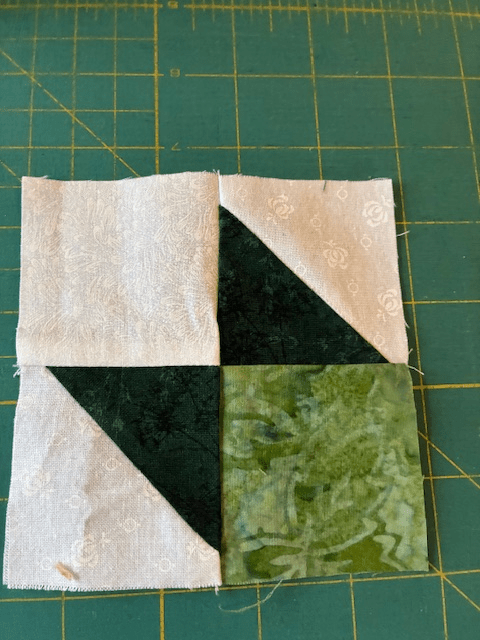
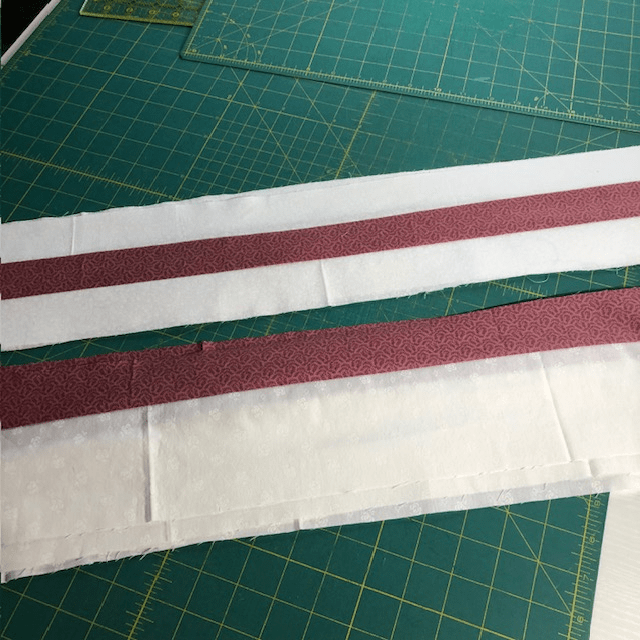
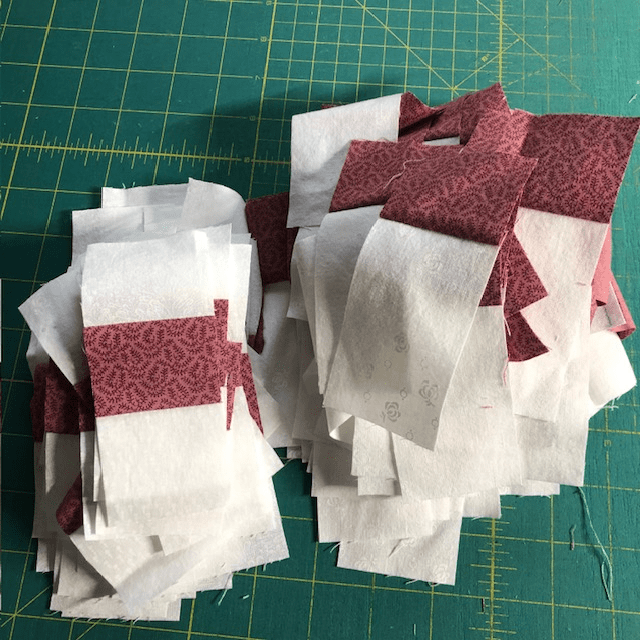
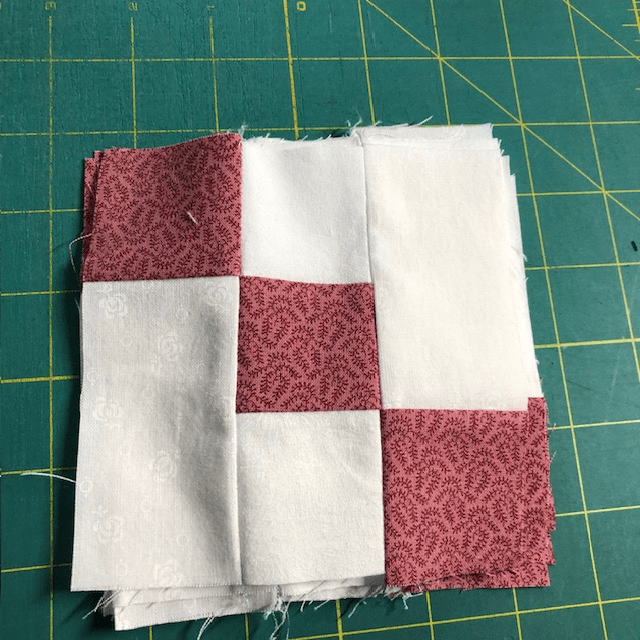
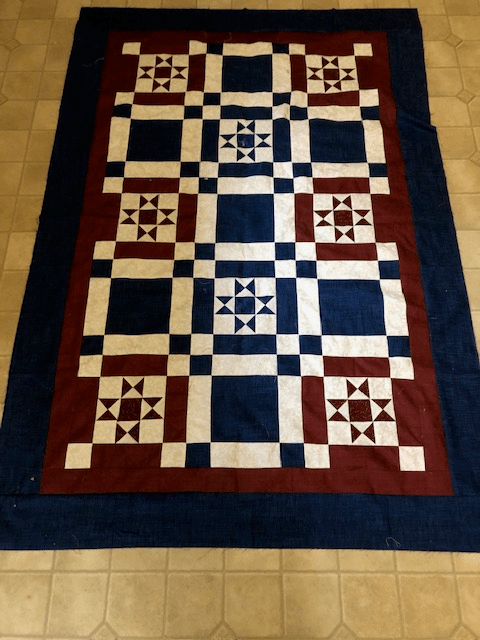
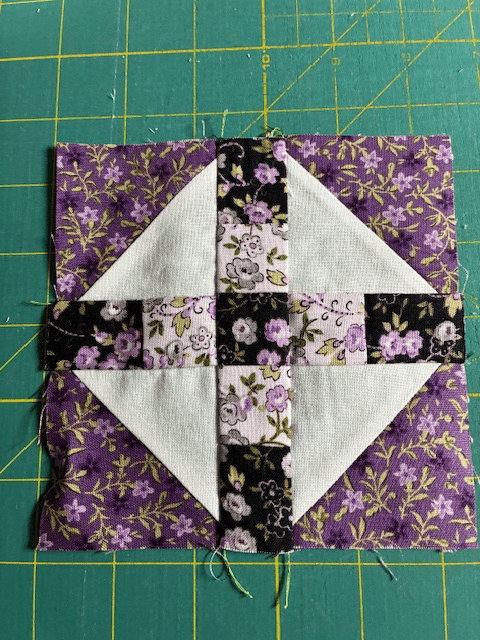
The second row was a pattern with the word double or two in it. While searching for a block, I found one called “Double Wrench” in Ginny Beyer’s web site. It’s a pretty little block. It is easy to make with half square triangles and strip sets.
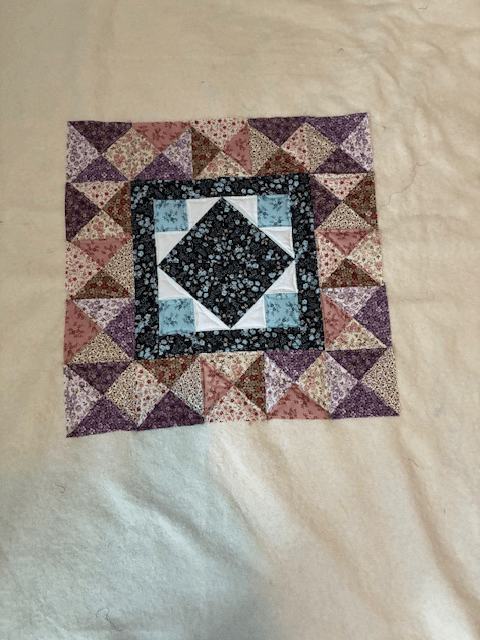
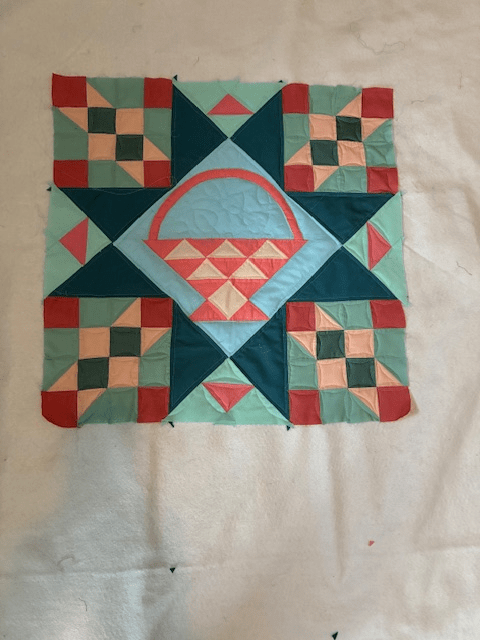
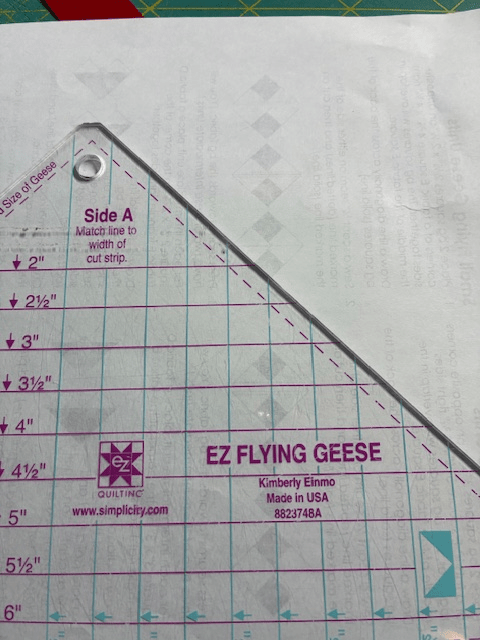
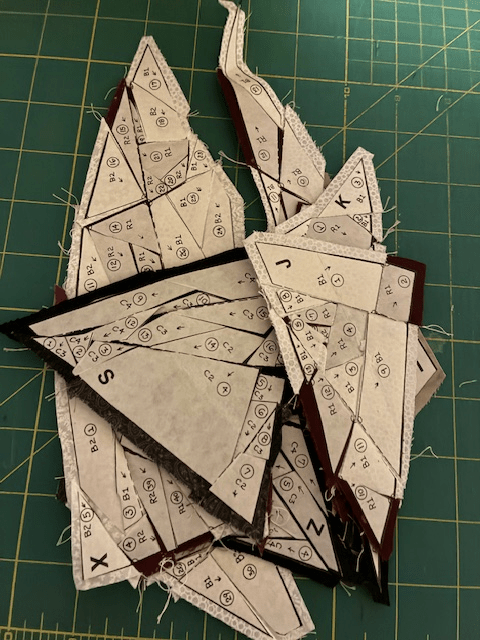
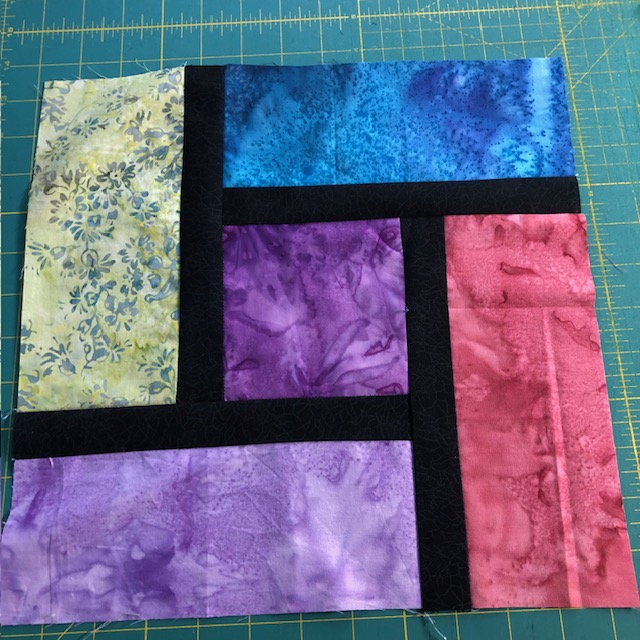
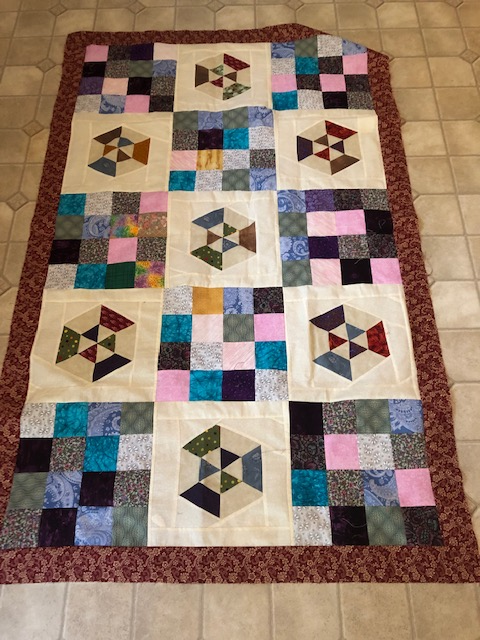
The third row is an animal block. That was easy. The center block is made of four cat’s cradle blocks. I would use the Creative Grid Cat’s Cradle ruler to make this row. The ruler is easy to use and makes two accurate blocks at a time without cutting triangles. The third row is sewn on but not quilted yet. I have until Wednesday to do that when the next row is announced.
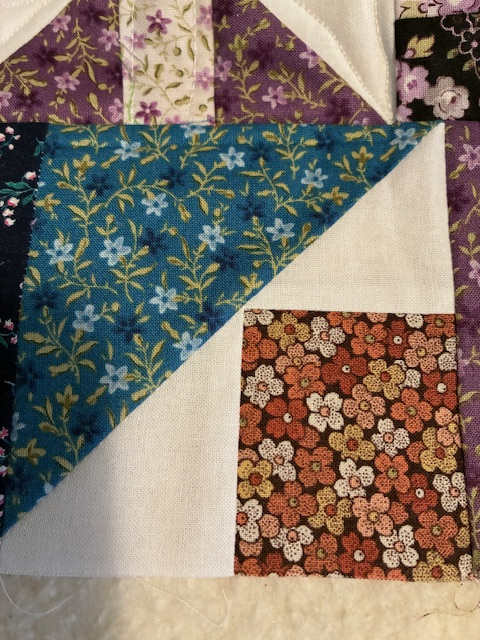
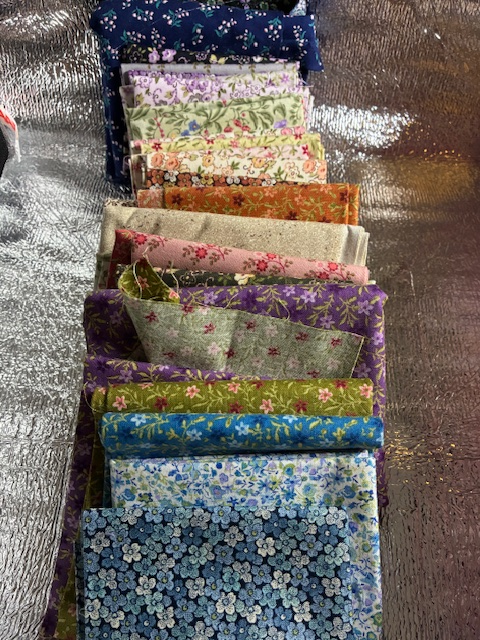
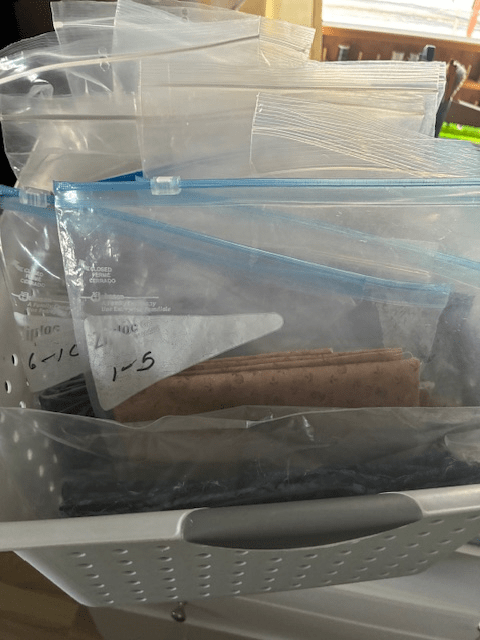
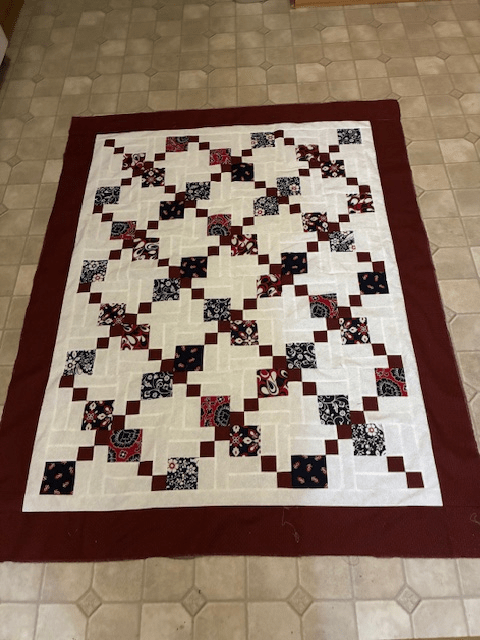
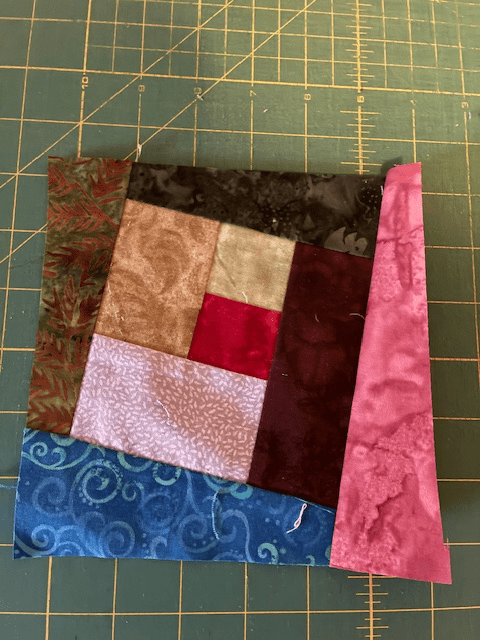
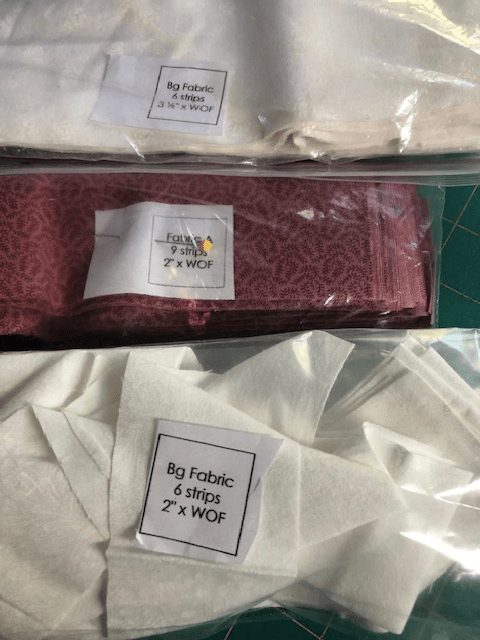
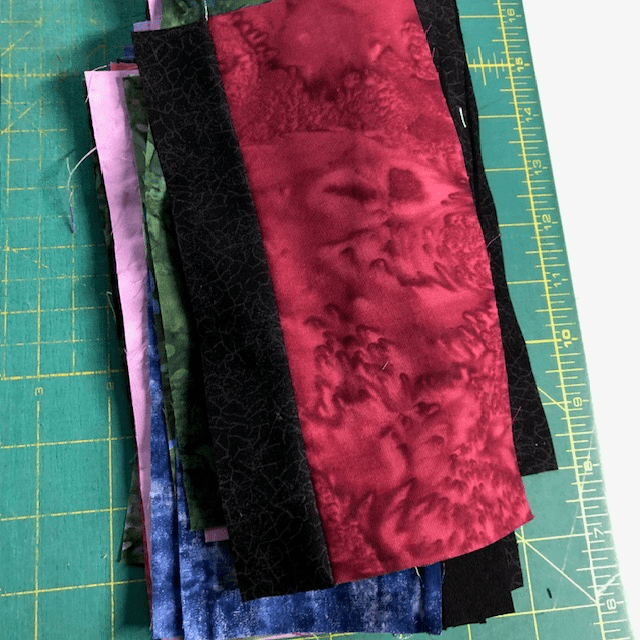
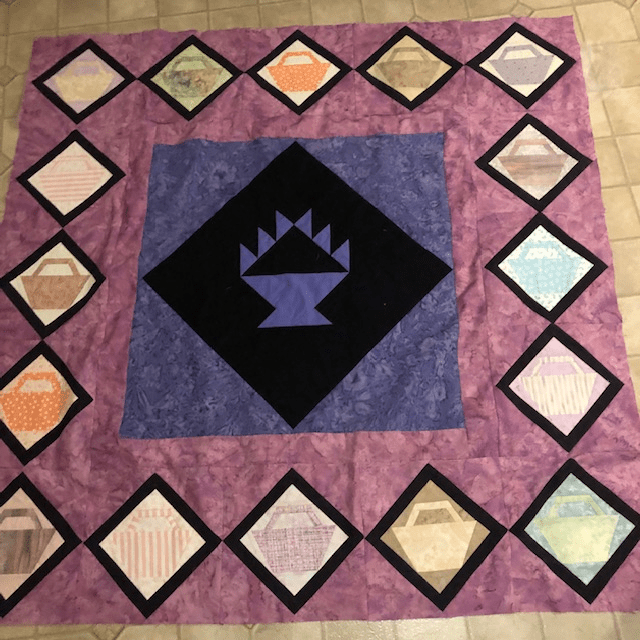
I’m glad that I found the bag of calicos. They play well together.
The SAHRR 2025 is in a time out, again, for a while until I can decide what to do with it. It has given me a problem from the start. I sewed two rows and didn’t like them so they are unsewed and waiting for inspiration. My goal is to finish both years at the same time.
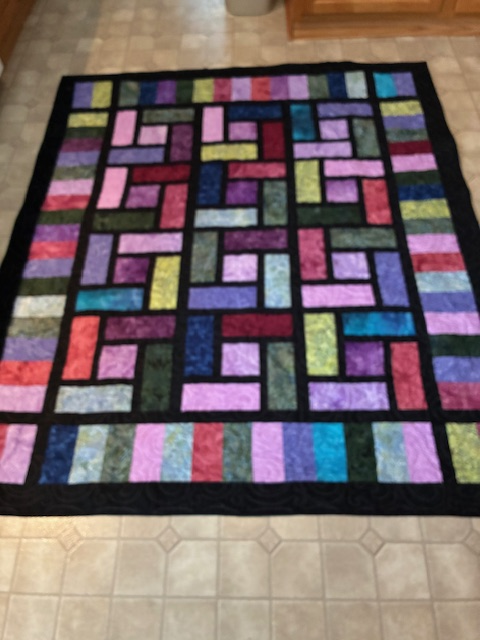
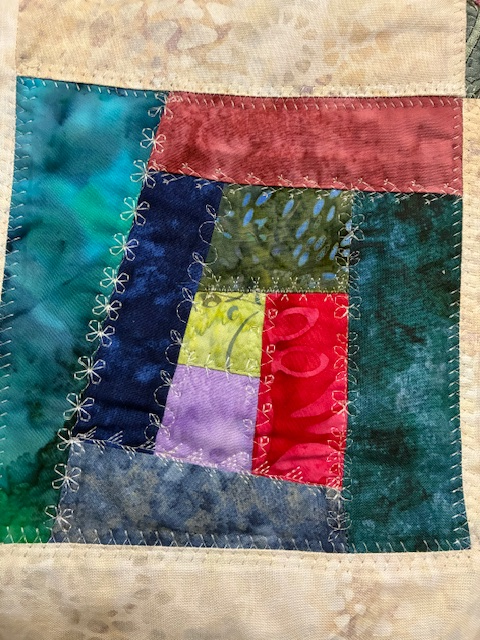
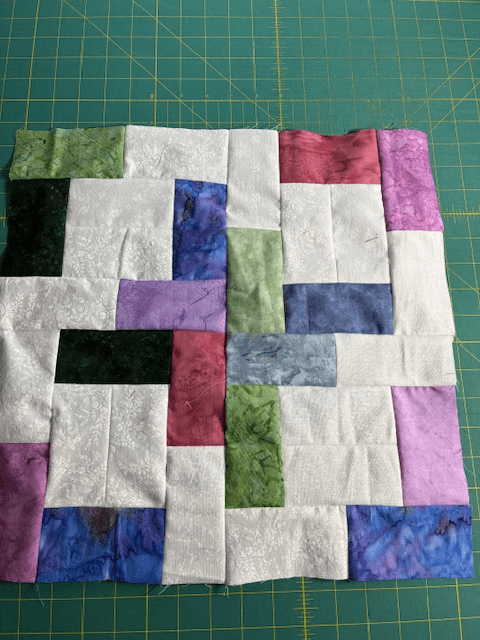
The Temperature quilt is up to date. Most of the days were below freezing and some below 0. It has been frigid and snowy. The fabric colors are ones that I would never put together, but will look good when the quilt is finished. We have to step outside our box on occasion.
I finally pulled out ufo #1. It is the Ugly Quilt”. It is at least 20 years old. The center is quilted. I pulled out the basting thread from the center while watching tv last night. It has a story about why it got it’s name. I thought about how I would quilt the outside rows. It’s just a matter of getting around to it.
Have a great day and happy quilting.