There are many different ways of making half square triangles. I have tried a few of them. Recently, I tried the accordion method. With this method every half square triangle can be a different color. My favorite method , up to this point, has been making half square triangles with the Tucker Trimmer ruler. These half square triangles are made two at a time. What if you want to make a lot of half square triangles that are the same color.
I have seen a method to make eight squares at a time and thought that I would try it. I have several pre cut 5″ squares and wondered what size the squares would be when finished.
 Draw a diagonal line both ways on the one 5″ square. Layer two squares right sides together and sew 1/4″ on each side of both lines.
Cut the square in the middle horizontally and vertically. Also on the drawn diagonal lines. 
 Using the Tucker Trimmer, find the largest triangle, place the line on the stitch line and trim the edges. With a 5″ square, I could trim a 2 1/2″ square, making a finished 2″ square. Press open to the dark side.
After I made the half square triangles with 5″ squares, I made them with 6″ squares, 8″ squares and 10″ squares. Now when I need a specific size half square triangle, I know what size to cut the original square.
You could make two pinwheels or the points of an Ohio Star block with the eight half square triangles.

What if I made half square triangles from eight pairs of fabric. Each piece would produce two pinwheels. I could use twelve for the inside of a mini quilt and the remaining four for the corners. Then, I would have a piece to practice machine quilting with rulers.
One if the rulers was a clam shell. I started from the bottom and made a row from right to left. Then I went back from left to right. It was so easy to quilt with this ruler, but the rows weren’t lining up. I couldn’t see where to line up the rows. There must be another way to quilt clam shells and have them come out right.
 I put everything aside and decided to play with the rulers and figure out how to use them. The solution for the crooked clam shells was simple. Originally, I started quilting on the bottom and went above the first row to quilt the second row. I couldn’t see where to line up the clam shells. I turned the practice piece around and quilted the clam shells on the bottom up side down. Then, when I quilted the second row, I could see the top of the first row and adjust the ruler to the right spot.
I’m not sure if I will take out the bad stitching on the mini quilt and requilt it the right way or just leave it and start quilting the right way from where I left off. It would look much better if the whole quilt was quilted properly.
I played around with the other rulers and had a lot of fun. There are stipples, clouds, circles, ribbons, curves and feathers. When I want to use them in a project, I probably will make a quilt sandwich and practice a while before I quilt the new quilt. It would prevent unquilting, I could make a lot of 10″ quilt sandwiches for each practice. When there were enough, they could be put together in the lap quilt method. It would be a free quilt.


It will take a lot of practice to perfect the ruler technique, but it will be fun to try.
Have a great day and happy quilting.


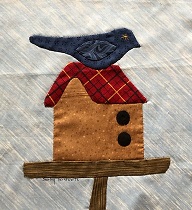
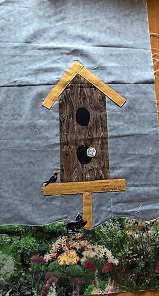
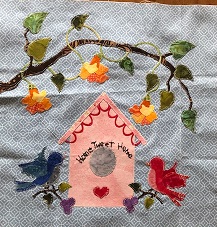


 I have patterns for other bird houses and might add some more to the mix if I need more.